Skip to content
Build Strength

Build Strength

Develop strength from head to toe.

Full body

Build strength across your whole body with exercises that work multiple muscle groups together, improving your overall strength, power and physical resilience.

The key to doing this exercise correctly is picking the right-sized box. Ensure the height means that you can jump and get both your feet completely onto the box. 

Step 1:

Stand approximately 25cm in front of a steady firm platform/box that you are going to jump onto. The height of the platform will depend on ability and fitness level.

Step 2:

Ensure you jump using both feet in a ballistic-type motion onto the top of the box/platform and land with both feet approximately shoulder width apart.

Step 3:

When on top of the platform/box, stand upright before jumping back down to the start position.

Step 4:

Over time, the height, speed and repetitions should increase as your ability and fitness levels increase.
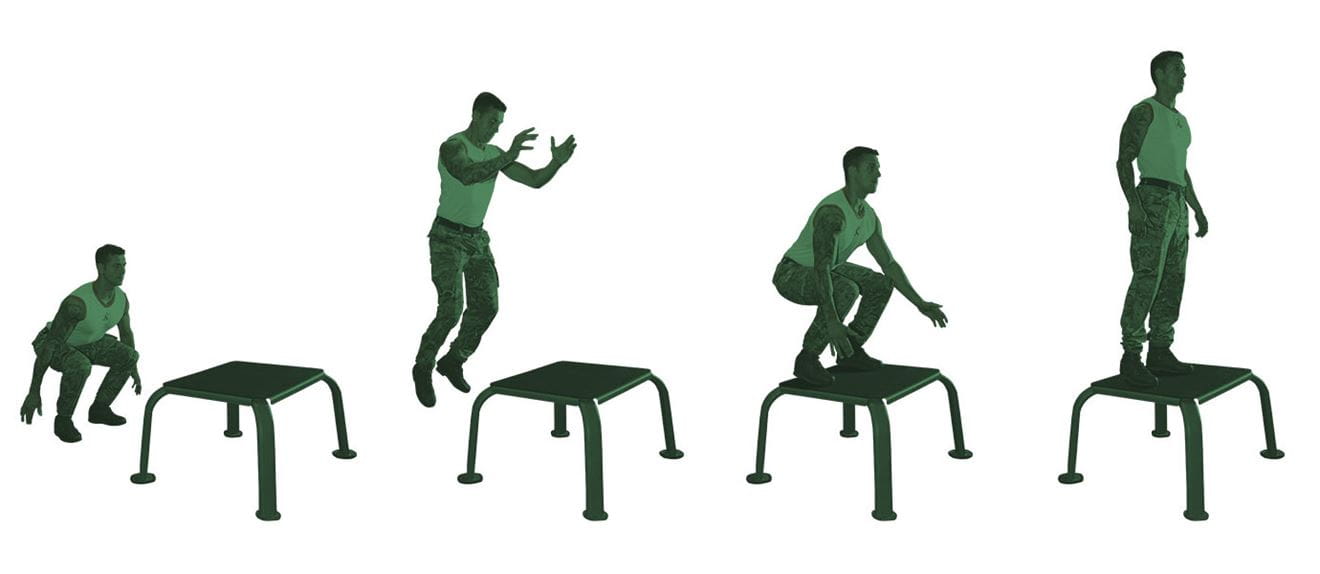
Steps for performing a box jump

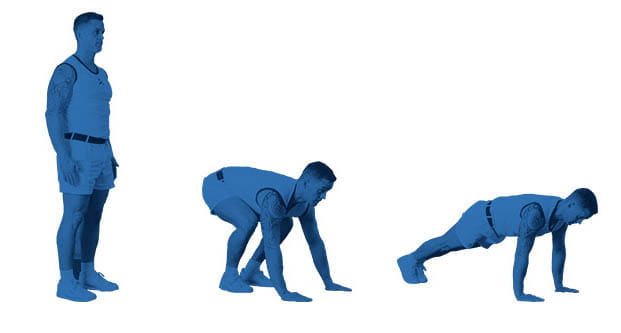
The burpee is a full body exercise, which works almost every muscle in your body. It needs no equipment and doesn't need a gym membership. Please follow the guide below to make sure you carry out the movement correctly.

Step 1:

Begin in a standing position.

Step 2:

Squat down and place the hands flat on the floor, shoulder width apart. Crouch down so the angles of the knees do not exceed 90˚.

Step 3:

Shoot the legs out fully to the rear making sure you do not hyperextend the knee joint. Return the knees in line with the elbows, stand up to the upright position.

 
Steps for performing a burpee

Ensure your back is kept straight and you look forwards at all times during the entire movement.

Step 1:

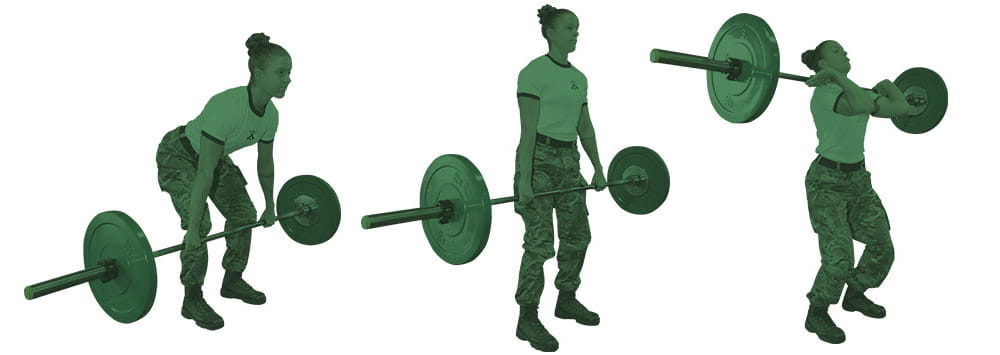
Hold the barbell just over shoulder width apart whilst the weight is still on the floor. Ensure you have a stance approx shoulder width apart.

Step 2:

Take the strain of the weight ensuring you use the legs and keeping the back straight.

Step 3:

In a ballistic type movement the weight should be lifted in one complete movement to underneath the chin. Hold the weight underneath the chin for approx. 2 seconds before returning back in front of the body with arms straight. Return the weight back to the floor keeping the back straight and looking forward.

Steps for performing a clean

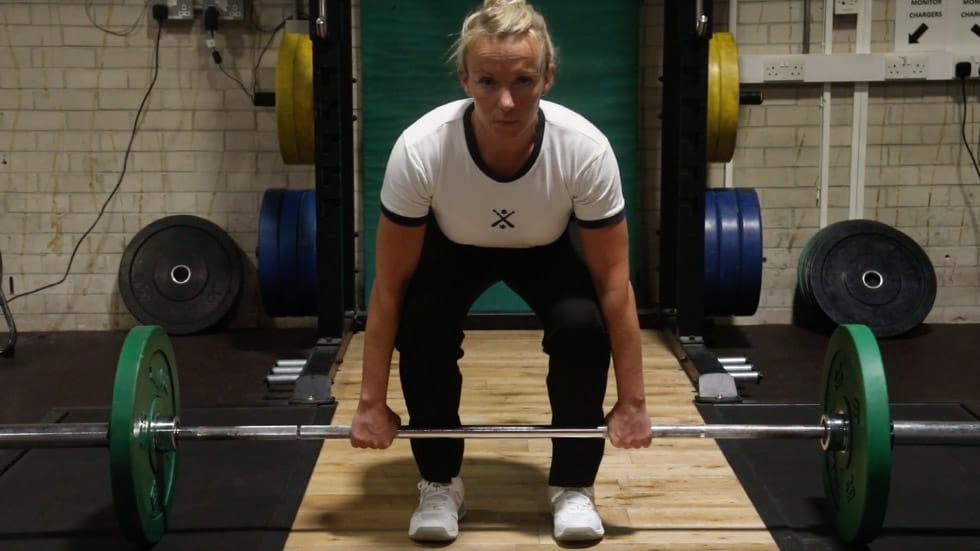
Ensure you keep your back neutral when completing this exercise to avoid injury. Follow the below for a step-by-step guide.

Step 1:
Ensure feet are shoulder width apart. Keep your back straight and ensure you look slightly forward.

Step 2:
Make sure you do not snatch the weight off the floor. Ensure you take the strain before lifting the weight upwards and lift the weight up, close to the body, until you are fully standing with your shoulders pulled back.

Physical instructor deadlift technique

Ensure you keep the back straight and are looking forward during all of the exercise movement. Follow the below for a step-by-step guide.

Step 1:

Start with your feet shoulder width apart, and flat on the floor.

Step 2:

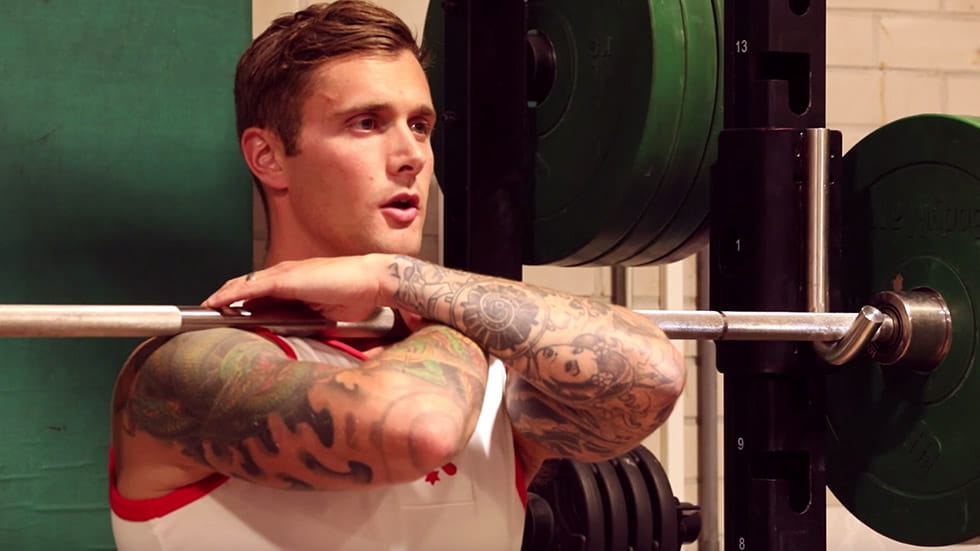
Squat down until the body is in the seated position, legs at 90 degrees, ensuring the backside does not drop below knee level and the knees do not protrude over the toes. Then extend the legs back to starting position being careful not to hyper extend the knee joint. At all times ensure you keep a natural curvature of the spine, the head and eyes looking naturally forward and place the hands across the chest or on your hips for support.

Physical instructor front squat technique

Follow the guide below to get the most from the exercise and to avoid injury:

Step 1:

Start with your hands shoulder width apart, lower the chest until just off the floor.

Step 2:

At the same time bend one knee into the same body side elbow. Maintain the natural curvature of the spine, keeping head and eyes naturally looking forward.

Step 3:

Extend the arms and return the leg to the start position, complete the exercise on the opposite side.

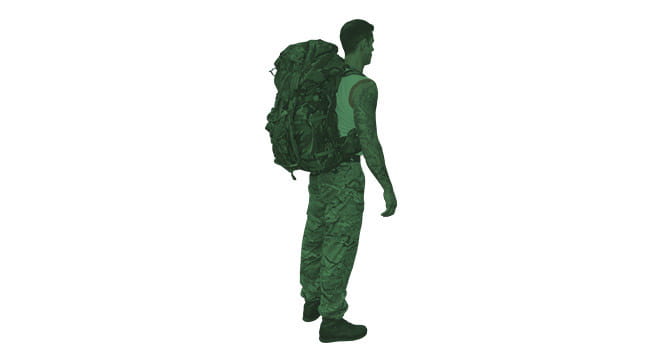
Ensure you have a ruck sack that is snuggly fitting around your waist, back and shoulders. The weight that is carried depends on ability and fitness level.

Step 1:

Walk with the weight for varying distances dependent on fitness and ability. Ensure any weight is distributed evenly and securely in the rucksack.

Steps for performing a load carry

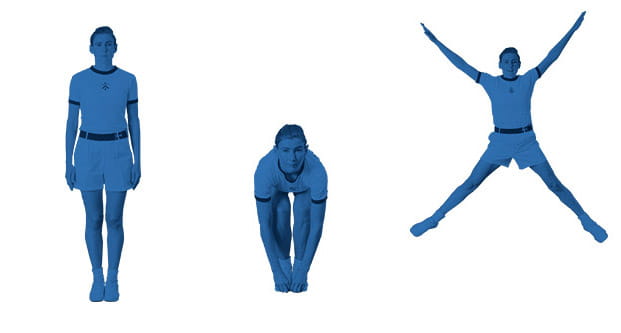
Follow the below guide to ensure that you complete the movement correctly and without injury:

Step 1:
Start in the standing position with your knees slightly bent.

Step 2:

Bend down looking forward, bringing your chest to your knees. Touch your toes with your hands.

Step 3:
Explode up into the air opening the arms and the legs into a star like shape. On landing ensure to do so with soft knees and on the balls of the feet.

Steps for performing a star jump

Upper body

Develop the upper-body strength and muscular endurance needed for movements such as pushing, pulling, lifting and carrying.

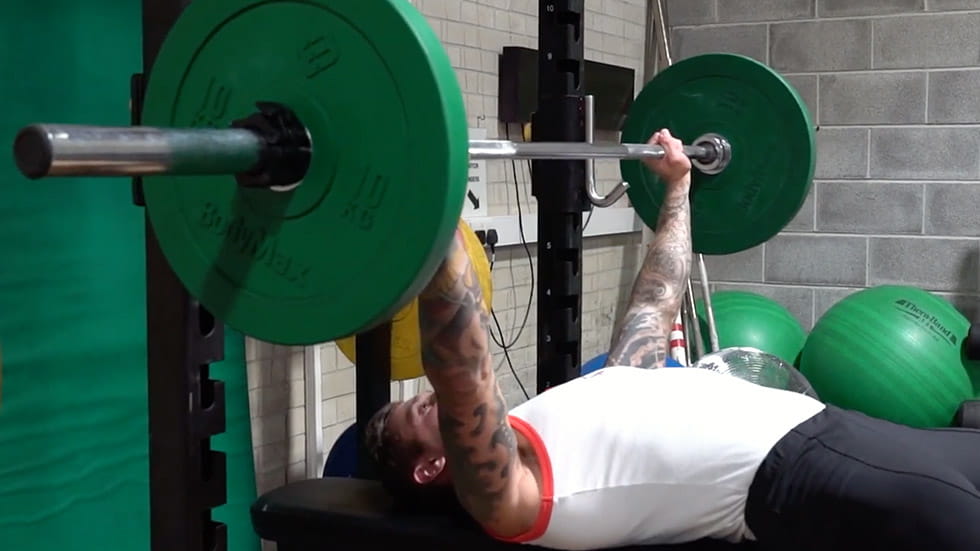
The bench press is a full body exercise and works your chest, shoulders and triceps the most. It is important to do a bench press correctly to avoid shoulder pain so you should follow the step-by-step guide below.

Step 1: 
Lie on the flat bench with your eyes under the bar. Lift your chest and squeeze your shoulder-blades. Keep your feet flat on the floor and grab the bar.

Step 2:
Hold the bar in the base of your palm with straight wrists and unrack the bar by straightening your arms. Move the bar over your shoulders with your elbows locked. Lower the bar. Lower it to your mid-chest while tucking your elbows 75 degrees keeping your forearms vertical. Press the bar from your mid-chest to above your shoulders. Keep your bottom on the bench and lock your elbows at the top.

Physical instructor bench press technique

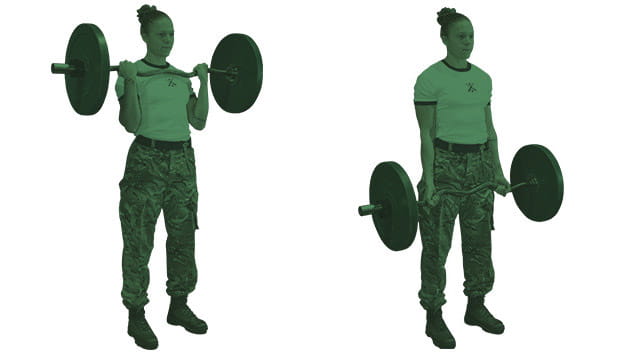
The weight used will be dependent of fitness and strength levels. Using weights that are too heavy will cause injury.

Step 1:
Use a curl bar for best practice. Grip the curl bar with palms facing outwards and feet shoulder width apart.

Step 2:
Raise the bar by bending the arms upwards until the bar sits below the chin. Lower the bar in a controlled manner back to the start position.

 
Steps for performing a bicep curl

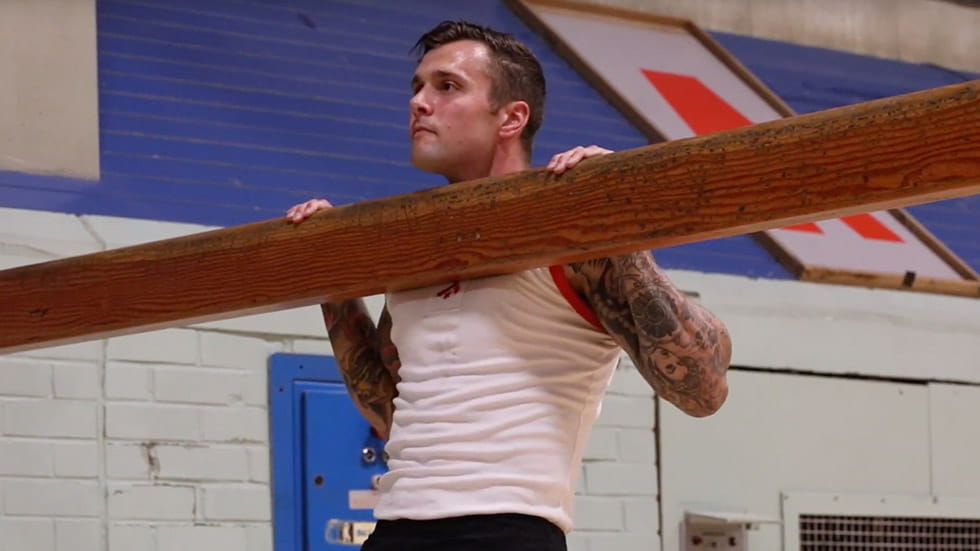
Look to use gym equipment or a suitable out door alternative, there are often exercise bars in local parks that you could use. An overhand grip can also be utilised, this is advised for potential divers as this is how they are performed on Divers Physical Fitness Test, view how to do this exercise here. (https://www.royalnavy.mod.uk/careers/joining-process/get-fit-to-join/exercises/pull-ups)

If you are struggling with this exercise, you could use resistance bands, one knee should be placed into the band for assistance.

Step 1:
Grasp the bar with an underhand grip, hands slightly wider then shoulder width and begin from a dead hang.

Step 2:
Engage the core, pull the head and torso up towards the bar concentrating on “pinching” the lats together.

Physical instructor pull-up technique

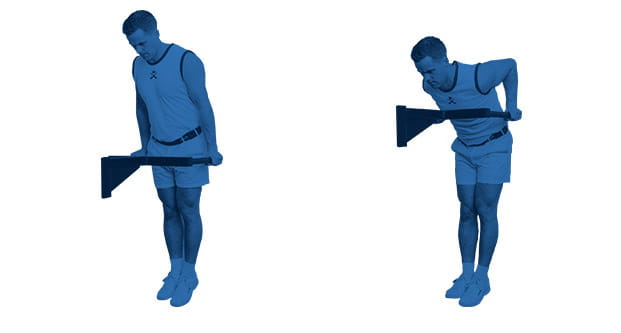
Follow the guide below to get the most from the exercise and to avoid injury:

Step 1:
Using a bar place hands shoulder width apart and push yourself up.

Step 2:
Lower yourself downwards with your elbows bent at 90 degrees. Push back up to the starting position.

Steps for performing a dip

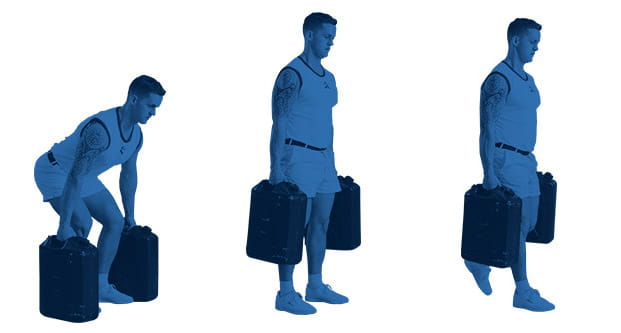
Follow the guide below to get the most from the exercise and to avoid injury:

Step 1:
Stand up straight looking forward with the two items on the outside of both feet. Head and eyes facing forward, squat down keeping the back flat and the core tight.

Step 2:
Grasp both handles and with relaxed arms but a firm grip drive up with the legs until standing upright. Keeping the items close to the body, the core tight and the shoulders engaged start to walk forward.

Step 3:
Walk for the distance required ensuring to keep a firm grip, arms should remain straight with the core and shoulders engaged. Recruits should return the weight to the floor under control if they cannot continue. Continue to carry for the distance required, the distance required for potential Divers is 30 metres.

Steps for performing a farmer's carry

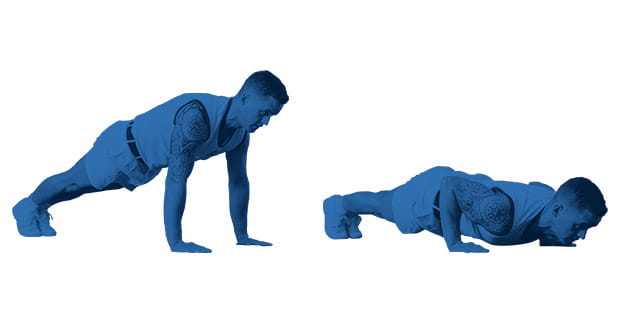
As the name suggests, this exercise is very similar to a press-up although the hands and arms are closer together making it a slightly different movement and working different shoulder muscles.

Step 1:
Starting in the prone position with the hands closer than shoulder width apart.

Step 2:
Keeping the back straight, maintain natural curvature of the spine, with the head and eyes looking naturally forward, bend the arms and lower the chest towards the floor. When the arms are at 90 degrees, extend and raise the torso upwards being careful not to hyper extend the elbow joint.


Steps for performing a push-up

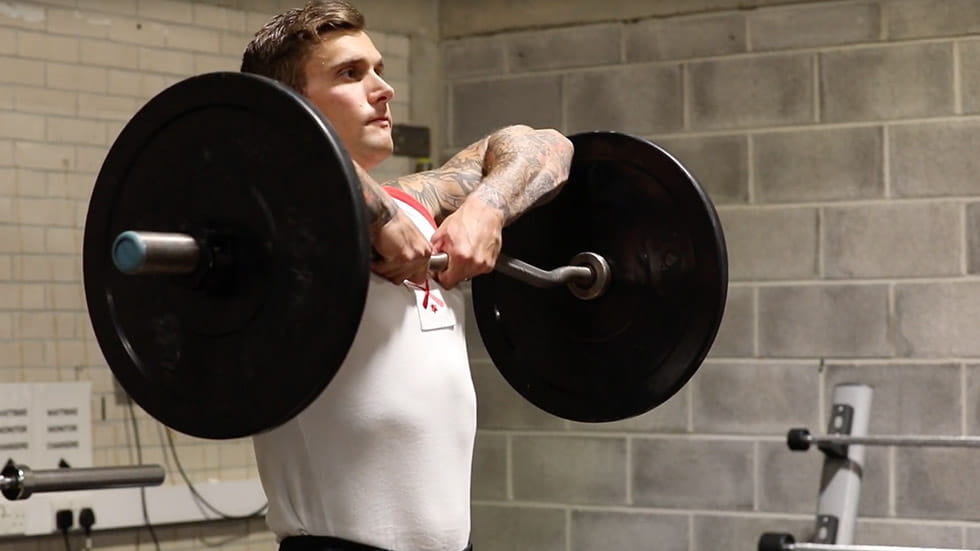
Start this exercise with the correct form to avoid injury, stand with your feet shoulder-width apart, your chest high and your eyes forward.

Step 1:
Grip the bar with palms facing inwards. Your hands should be close together.

Step 2:
Raise the bar to just underneath your chin, keeping the bar as close to the body as possible and your elbows high. Lower the bar, under control, back to the start position.

Physical instructor upright row technique

Lower body

Strengthen your legs and hips to improve power, stability and endurance for running, jumping and other demanding physical activities.

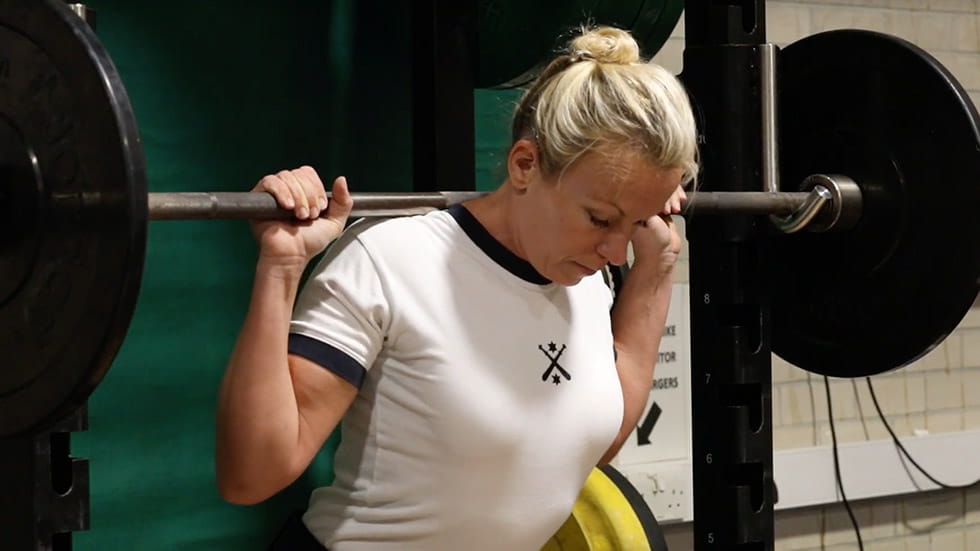
Back squats work your whole body, with many muscles being used at the same time, not just your legs. It builds muscle and strength quickly but proper squat form is important to avoid knee and leg injury.

Step 1:
Ensure you lift the weight in the centre of the bar with hands over shoulder width apart.

Step 2:
Lower the weight whilst on the back of the neck so as your hips are approximately level with your knees. Extend your legs so you return back to the start position. Ensure you keep the back straight and are looking forward during all of the exercise movement.

Physical instructor back squat technique

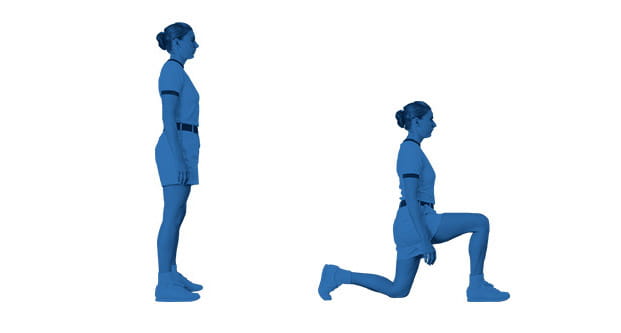
Follow the below guide to ensure that you complete the movement correctly and without injury:

Step 1:
Start standing up straight with your feet placed together.

Step 2:
Take an exaggerated pace forward. Under control lower the rear knee to the floor. Ensure the back is kept at its natural curvature with the head and eyes naturally looking forward. Step back up and repeat with the opposing leg.

Steps for performing a lunge

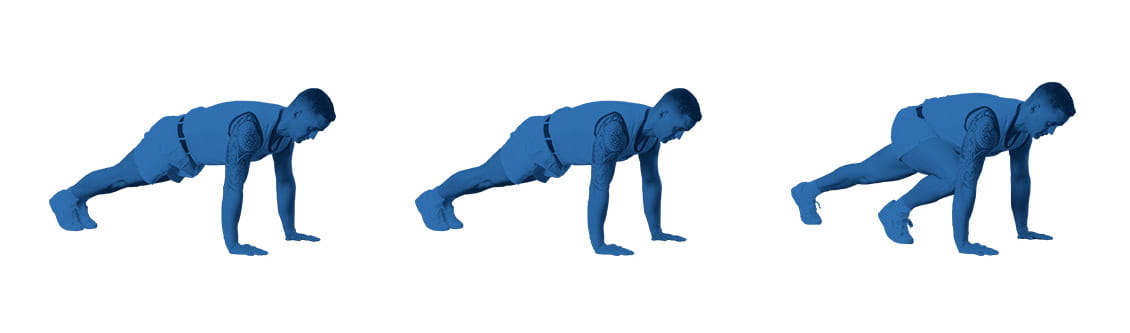
Follow the below guide to ensure that you complete the movement correctly and without injury:

Step 1:
Start with your feet shoulder width a part, feet flat on the floor.

Step 2:
Pull the right leg in so that your knee meets your elbow. Push leg back to starting position.

Step 3:
Repeat with the alternative leg.

Steps for performing a squat thrust

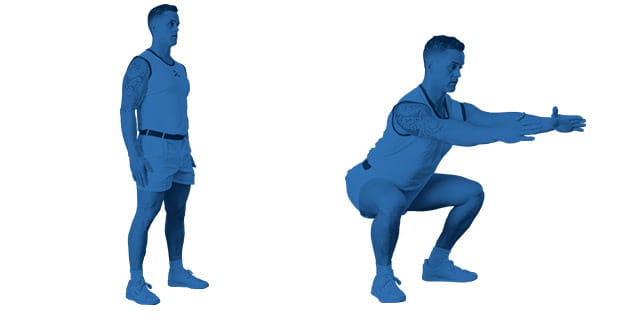
Follow the below guide to ensure that you complete the movement correctly and without injury:

Step 1:
Start with your feet shoulder width a part, and flat on the floor.

Step 2:
Squat down until the body is in the seated position, legs at 90 degrees, ensuring the backside does not drop below knee level and the knees do not protrude over the toes. Then extend the legs back to starting position being careful not to hyper extend the knee joint. At all times ensure you keep a natural curvature of the spine, the head and eyes looking naturally forward and place the hands across chest or on you hips for support.

Steps for performing a squat
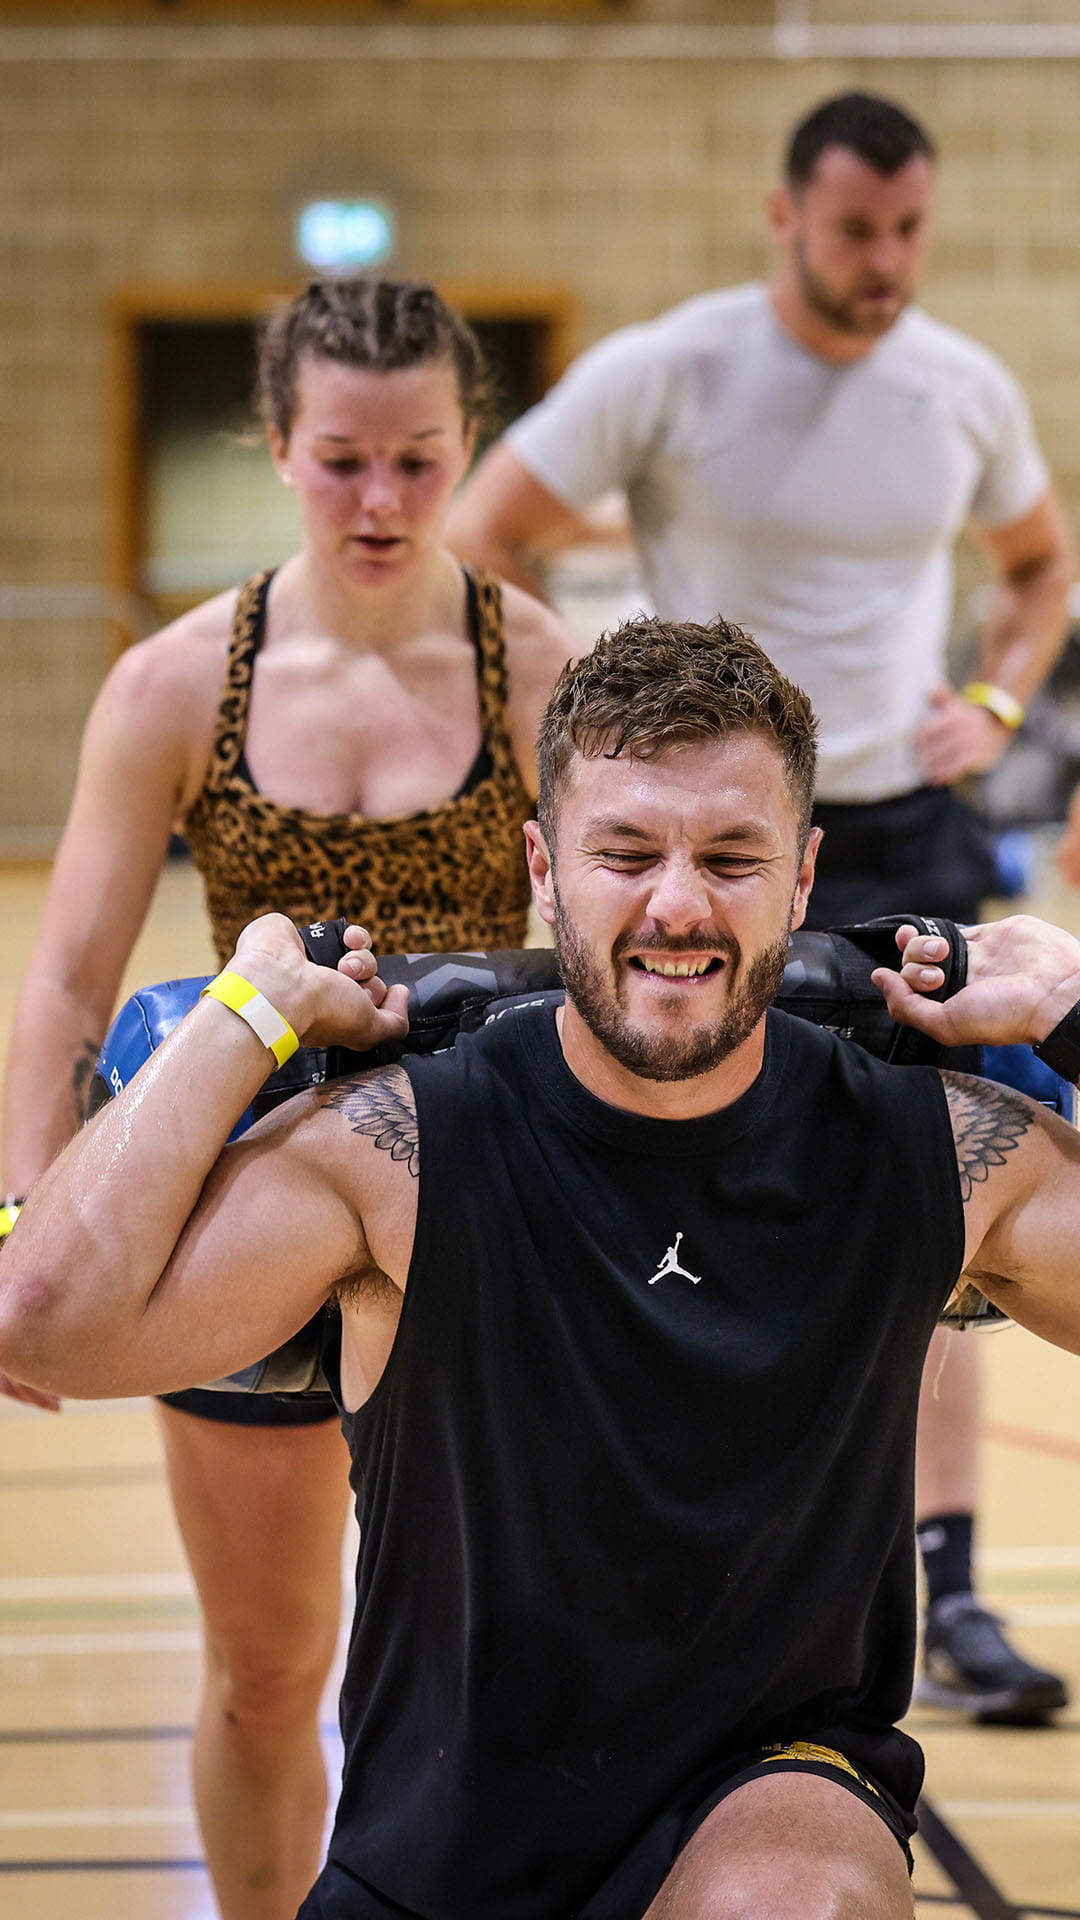
  • HMS DRAKE Wyvern Centre hosted a HYROX competition for military personnel.

    4 Week Fitness Plan

    If you’re unsure where to begin, our official 4 Week Fitness Plan provides a structured programme to help you prepare for the fitness assessments and Initial Training.

Got a question?

Need help finding your ideal role?
Our virtual recruiter is available to answer your questions 24 hours a day

Apply now

Find your place in the Royal Navy. Make friends for life, learn new skills and experience the world.

Start your application

Find your place in the Royal Navy. Make friends for life, learn new skills and experience the world.